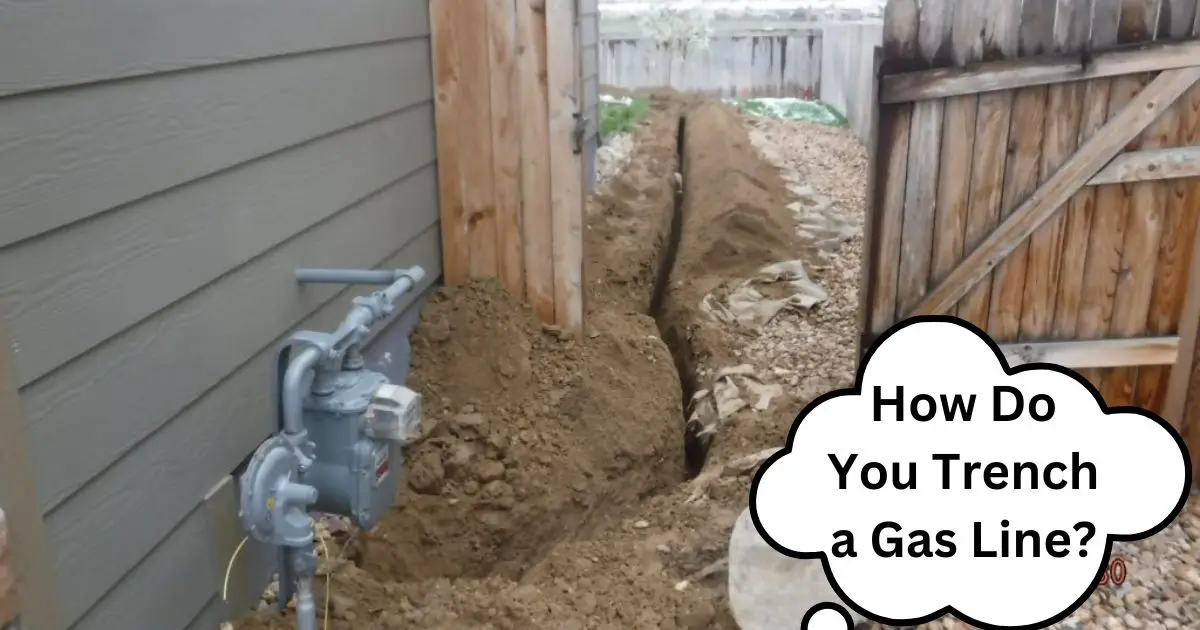
How Do You Trench a Gas Line? (Is it Legal?)
Trenching is the process of digging a narrow and deep channel in order to lay down gas lines.
It is an essential part of installing gas pipelines, as it ensures that they are safely buried beneath the ground.
With careful preparation and planning, trenching can provide a secure installation for your new gas line while keeping your landscape intact.
In this guide, we’ll discuss some tips on how you can properly trench a gas line so you can have peace of mind knowing that it’s securely installed into the ground.
How Do You Trench a Gas Line?
Trenching a gas line involves digging an 18-24 inch deep and 12 inch wide trench in the ground in order to lay the line. Before beginning, make sure the area is marked off so there are no underground utilities or other obstructions. The pipe should be laid on a bed of sand or gravel before it’s covered with soil, and sealed with PVC cement for additional protection against leaks. Once complete, use a gas detector to make sure that all connections were secured properly and test for pressure.
What happens if you dig through a gas pipe?
If you dig through a gas pipe, you could be putting yourself and others in serious danger.
Gas pipes are designed to transport combustible gases such as natural gas, propane, and butane.
If these gases are exposed to the air, they can become highly flammable and explosive.
If you dig through a gas pipe, you could cause a gas leak, which could lead to a fire or an explosion.
In addition, you could damage the pipe, which could cause a gas leak or a complete loss of gas service.
If you are digging in an area where there are gas pipes, it is important to contact your local utility company to have them mark the location of the pipes before you begin digging.
Step-by-Step Guide to Trenching a Gas Line:
If you wish to install a gas line in your home, or renovate an outdated one, consider the following five essential steps to ensure success:
1. Discover which parts of your house require gas and select a place for the new pipe.
We recommend obtaining an estimate from a professional before beginning work – don’t forget that they may charge you more than what you’re actually paying!
2. Decide on the depth of your trench, then determine how many inches of concrete are required for each layer.
Ensure that this calculation is accurate by consulting an app like Strip Centimeter app; it will help you obtain the most realistic outcome possible.
3. Obtain the appropriate hardware and ensure that it is of quality; after all, shiny posts and fittings won’t do anything but make your efforts look sloppy!
Make sure to get rid of any clamps that are bent or cracked as these will eventually cause problems during installation.
4. Begin excavation by removing the topsoil and any other obstructions; this should be done with a backhoe or similar machine.
Remember to place any objects that will fall into the trench during excavation – such as bricks, stones or electrical cables – in a designated area.
5. Once the trench is ready, begin laying down the pipe by following the same steps as you would when installing new plumbing – start at one end and work your way towards the other.
How deep is a trench for a gas pipe?
The amount of depth you need for a trench depends on the nature of the soil.
For instance, if it’s sandy or rocky terrain, then you’ll likely require an excavator to remove these obstacles before proceeding with the installation process.
If the venture is taking place in an area where hard soil exists – such as clay or concrete – one option is to create a trench by hand.
This can be accomplished through simple labor and equipment like shovels and wheelbarrows!
Curious about this pit-and-post method? Here’s how it works:
Removing all dirt from the surface area first requires some elbow grease! Grab a masking tape roll and commence excavating the desired hole.
Dig Trench to Desired Depth:
To properly trench a gas line, you must first dig the trench to the desired depth.
This can be done using either hand tools or mechanized excavation equipment, depending on how deep and wide you need your trench to be.
The exact depth of a gas line trench depends on many factors, such as local regulations and soil type.
Generally speaking, trenches should be at least one foot deeper than the required pipe burial depth in order to provide an adequate cushion for any potential subsidence due to ground movement over time.
When excavating by hand, it is important that you dig slowly and carefully so as not to damage any existing underground utilities or construction sites nearby.
If there are concerns about possible hazards during this process then contact a professional engineer and/or contractor before beginning work.
When working with mechanized excavation equipment like backhoes or excavators make sure that all safety protocols are followed before operation begins; these machines can cause serious injury when mishandled!
Once your trench has been dug out to the proper depth it is important that you inspect it thoroughly for obstructions or debris which could interfere with later installation efforts; clearing out such problems now will save time later!
Additionally, if necessary take steps appropriate for temporary erosion control measures like adding straw bales along slopes or applying seed mats around steep areas after digging is complete.
This helps protect against surface runoff from heavy rains which might otherwise wash away valuable topsoil from beneath newly laid pipes downslope in areas further downstream of your project site.
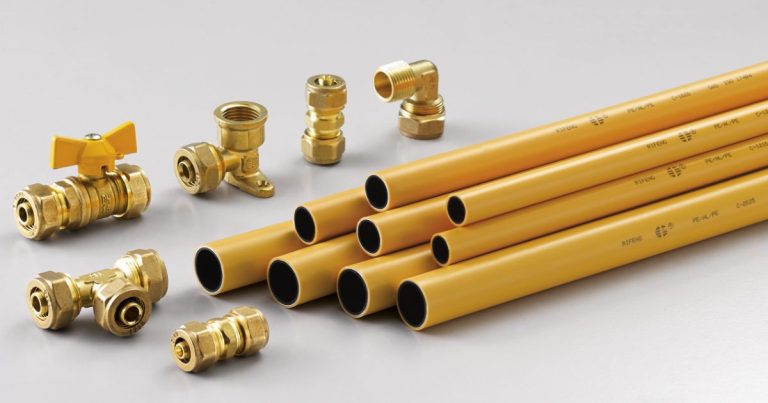
Install Flexible Pipe in Trench:
Installing a flexible gas pipe into a trench is an important step in installing a gas line.
The only safe way to do this is to ensure the trench has been dug correctly and that it meets all safety requirements for gas lines.
It’s essential to check if the soil type in the area can support the weight of the pipe, as well as making sure there are no stones or other objects within which could puncture or damage the pipe.
The next step is preparing the pipe itself; it’s best practice to use high quality materials that have been certified by relevant authorities such as AGA or UL standards.
Once installed, make sure you secure each end with proper fittings and connect them using approved connections and/or clamps when necessary.
During installation, carefully consider any changes in grade – where possible try to maintain continuity between each section of piping by keeping angles consistent along its length so that pressure remains equal throughout.
Once secure, test your work: run water through it for at least five minutes before connecting any appliances to ensure everything flows properly without leaks or obstructions.
Finally, cover up your trench with backfill material so that soil levels stay adequate and stable around your pipeline – regular inspections should be done afterwards too just in case anything has shifted due to environmental factors over time.
Fill Bottom of Trench with Gravel or Sand:
When trenching a gas line, it is important to fill the bottom of the trench with gravel or sand.
This helps to protect the line from shifting soil, which can cause damage and disruption in service.
The depth of the gravel or sand should be at least 6 inches and can vary depending on soil conditions and climate.
In areas where there are high levels of moisture, an increased amount may be necessary for proper support.
Gravel or sand provides stability by allowing water to flow away from the pipe while also providing cushioning to reduce movement that could lead to breaks or leaks in your system.
Additionally, these materials provide insulation against extreme temperatures that could damage plastic pipes used for some gas lines.
For added protection against corrosion, a layer of crushed stone can also be included before installing the gas pipe into its final position within the trench.
It’s important not to overfill trenches with gravel or sand; otherwise this may prevent effective drainage around pipes leading potential flooding issues.
No matter how secure your piping is installed if there’s ongoing water ingress it won’t serve you well in terms of longevity!
Keep any filling even so as not create pressure points on any part of your pipe during installation either – this will ensure maximum security when laying down your new pipework effectively protecting it throughout its lifespan.
Place and Connect Gas Line Fittings:
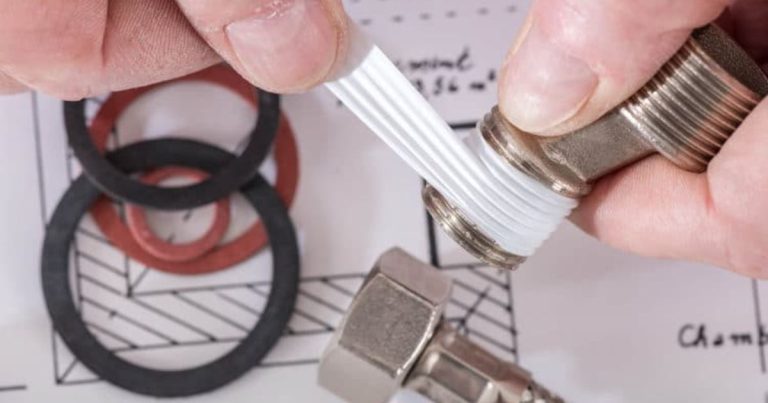
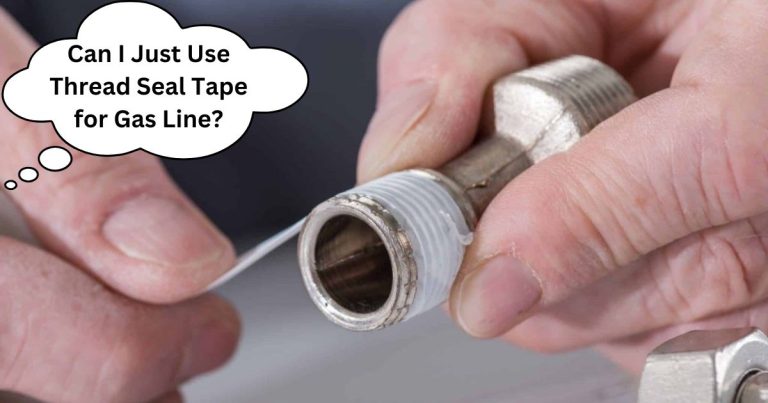
Before trenching a gas line, proper fittings must be put in place and connected correctly. The best way to ensure the safety of the connection is to use approved pipe thread sealant around each fitting.
This will provide maximum protection against leaks, which can be dangerous if not taken care of properly.
Additionally, special attention should also be paid when installing old or used fittings as they may have been damaged during their previous use and could cause issues further down the line.
It’s important to first check that all parts are compatible with one another before connecting anything together, including being able to confirm whether they match your piping system’s specifications or not.
Once this has been established you’ll want to coat both ends of each pipe section with the appropriate sealant before connecting them together using wrenches for extra tightness and ensuring there are no gaps left between them either.
Finally make sure any excess sealant is wiped off after installation so it won’t clog up any valves later on.
Test for Leaks and Proper Functionality:
Trenching a gas line requires several steps to ensure that the line is installed properly. To make sure your trench is sealed and functioning correctly,
Here are some tests you should do:
1) Check for leaks using a soapy water solution. Spray it over all joints of the pipe or where two pipes meet. If bubbles appear, there’s a leak and you need to re-trench and seal it up.
2) Test pressure in the line with a gauge reader to make sure its at an appropriate level for proper functionality.
3) Make sure any valves are working as intended by running water through them and checking that they shut off when needed.
4) Check for corrosion on exposed parts of the pipe by looking closely at each piece individually.
Backfill Around Piping with Soil:
Backfilling around a gas line is an important step in the trenching process.
It helps to protect the pipe from external forces, like heavy machinery or vehicles, and keeps sediment away from it.
The type of soil used for backfill should be appropriate for its intended use; typically, sandy soils are more suitable than silty ones.
When backfilling with soil, it’s important to compact it properly so that there are no large voids left behind.
This prevents unnecessary settling of the pipe over time due to uneven compaction of surrounding materials.
Care must also be taken when filling in around bends in the piping—the fill may need to be built up rather than scooped out as one would do when laying straight sections of pipe.
The end result should be a completely filled-in trench with firm support all around the piping.
This will minimize any potential damage caused by shifting ground conditions or nearby construction projects that could affect its integrity and safety over time.
Additionally, this extra layer of protection will help preserve your gas line investment for many years into the future!
Conclusion
When it comes to trenching gas lines, there’s no need for panic!
All it takes is a little knowledge and patience.
So don’t get disheartened if you make a mistake; let us help you get things right the first time around!
Did you know that trenching gas lines is an intricate process? If so, be sure to browse our library of articles which contain helpful information on the subject.