
The Ultimate Guide to Speed Queen’s Diagnostic Mode: Tips and Tricks
Key takeaways
- Speed Queen Diagnostic Mode allows technicians and knowledgeable users to access detailed operational data of washers and dryers, facilitating quick identification and correction of technical issues.
- To enter Diagnostic Mode, specific button combinations are required, which vary depending on the model. Once in this mode, users can view error codes, run cycle tests, and adjust settings to optimize machine performance.
- Regular use of Diagnostic Mode for troubleshooting and maintenance can enhance the efficiency, performance, and longevity of Speed Queen appliances, making it a valuable tool for preventing and resolving problems.
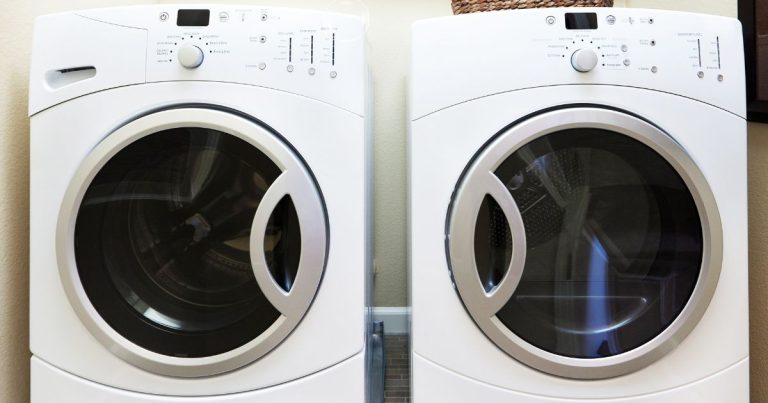
Speed Queen diagnostic mode is an incredibly useful tool for anyone who needs to troubleshoot and diagnose problems with their Speed Queen washers.
This simple mode can help you identify issues quickly and accurately, allowing you to get back to enjoying the convenience of your machine in no time!
With this handy feature, you’ll be able to address any potential malfunctions swiftly and effectively – so let’s dive right into learning how it works!
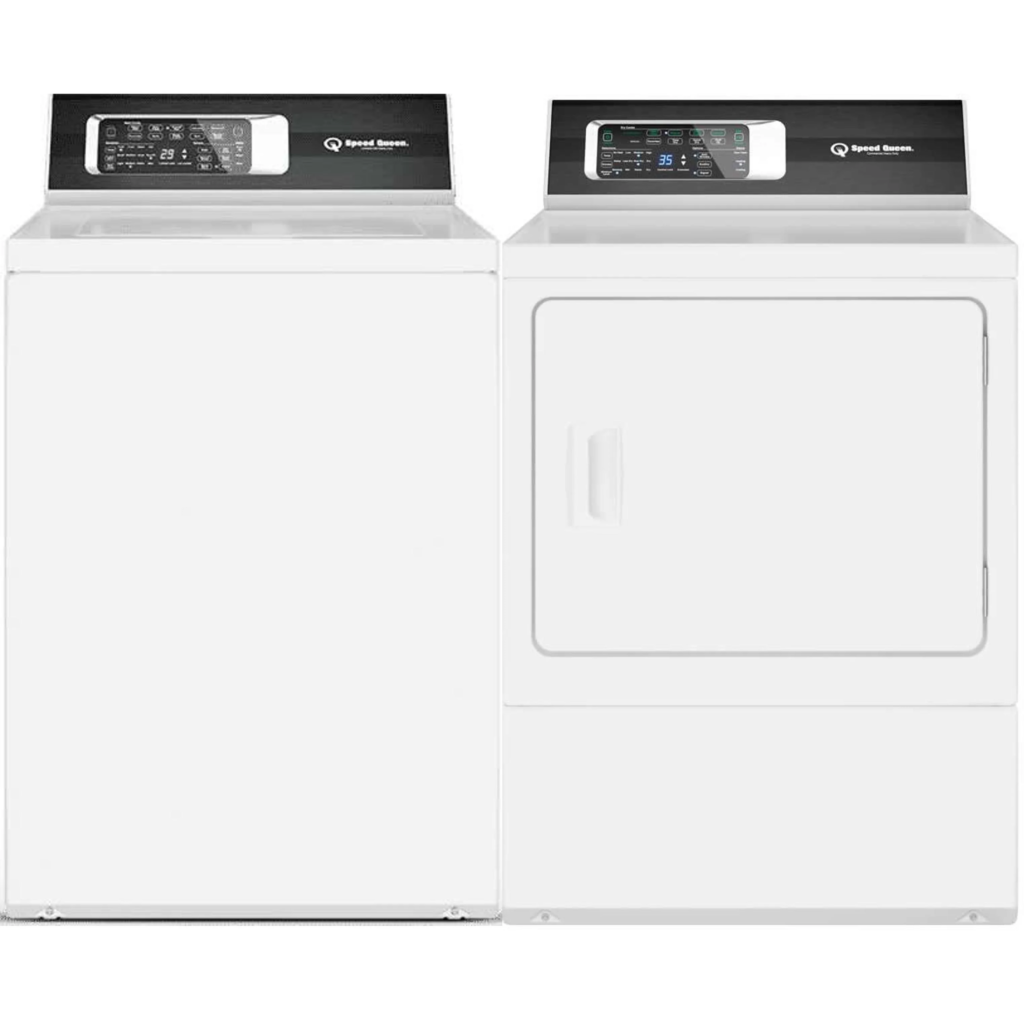
Speed Queen Diagnostic Mode:
Speed Queen diagnostic mode is a feature that helps service technicians diagnose and troubleshoot technical issues with Speed Queen washers. It allows them to access detailed information about the machine’s operational data, including cycle selection, temperature settings, fill duration, spin speed, drain time and more. By entering diagnostic mode on a Speed Queen washer, service technicians can quickly identify any problems and take corrective action as needed.
Understanding Speed Queen Diagnostic Mode:
Speed Queen Diagnostic Mode is an important feature of Speed Queen washers and dryers. It helps technicians diagnose problems with the machine quickly and accurately.
It allows them to identify potential issues before they become more serious, saving time and money for both the technician and customer.
Diagnostic mode uses a series of codes that provide information about what is happening inside the machine at any given moment.
These codes allow technicians to pinpoint which components need to be replaced or serviced in order to resolve the issue.
In addition, it can also give insight into how often maintenance should be done on different parts of the appliance so that they remain in good condition over time.
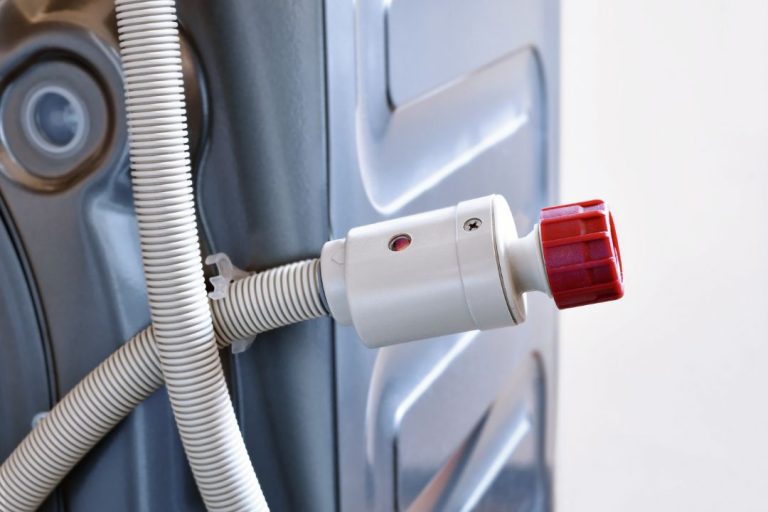
In order to access diagnostic mode, technicians must first use special tools such as multimeters or voltage detectors depending on their specific model of Speed Queen appliance in order to input a sequence of commands into the control panel LCD screen.
Once this has been completed correctly, diagnostic mode will be activated allowing access to all its features including troubleshooting tips, fault history logs and other detailed information regarding each component’s performance status within the system itself.
By understanding how speed queen diagnostic mode works thoroughly, technicians are able efficiently diagnose issues with their customers’ appliances in no time at all!
Entering Speed Queen Diagnostic Mode:
Entering Speed Queen Diagnostic Mode is a simple and straightforward process that requires only basic knowledge of the machine.
To access diagnostic mode, simply open the front panel on the machine and press both buttons at once.
The correct button to press is typically located on the right side of the control panel, directly below or above the display window.
It may also be labeled with a ‘D’ for diagnostic mode.
Once in this mode, you will be able to view any errors or codes that are present within your Speed Queen system.
This information can provide useful insight into why certain functions aren’t working properly or if there is an issue causing your washer/dryer to run inefficiently or not at all.
Furthermore, if you are attempting repairs yourself it may save time by allowing you to see what components need attention before continuing with other troubleshooting techniques.
By entering diagnostic mode correctly, you will also have access to more detailed reports about how each component in your system is functioning as well as being able to quickly identify underlying issues which could lead to further complications down the line if left unchecked.
As such it’s important for those unfamiliar with Speed Queen machines to make sure they understand how this function works and use it appropriately whenever necessary so that proper maintenance can be carried out without issue.
Troubleshooting Error Codes:
Troubleshooting Error Codes is one of the most important and necessary steps in any Speed Queen diagnostic mode.
It involves identifying where an error may have occurred and then correcting it to ensure optimal machine performance.
Errors can be identified by either a numerical code or an alarm light on the control board.
Once an error has been identified, experts recommend using troubleshooting guides that provide step-by-step instructions for resolving common errors quickly and efficiently.
These guides should be backed up with manufacturer’s manuals which will include more detailed information about specific components of the machine such as motors, pumps, valves, etc., so that any issues can be pinpointed exactly.
Additionally, contacting customer support teams provided by Speed Queen directly may also help get answers faster than trying to resolve them independently.
Before attempting repairs yourself though, it’s always good practice to consult a professional technician who is certified in Speed Queen products as they are able to safely diagnose complex problems without causing further damage to your equipment or putting you at risk of injury from electricity or mechanical failure.
Taking this precaution helps prevent costly mistakes and keeps both your safety and machine performance at their best!
Running Cycle Tests in Diagnostic Mode:
Running cycle tests in diagnostic mode can help provide valuable information to identify any operational issues with a Speed Queen washer.
Diagnostic mode is an advanced setting that enables technicians to troubleshoot specific components and check the operation of different parts of the washing machine.
To access diagnostic mode, technicians will first need to power off the washer and then press a combination of buttons on its control panel.
Once activated, this feature allows them to run individual test cycles for each component or subsystem such as spin speed, motor speed and water fill time.
The results from these tests can be used to determine if any adjustments are needed or if additional service is required for further repair work.
Additionally, data collected from running cycle tests in diagnostic mode can also be used by Speed Queen specialists during routine maintenance checks and inspections.
Adjusting Parameters & Settings:
Adjusting Parameters & Settings is a crucial step in using the Speed Queen diagnostic mode. The parameters and settings are used to configure the machine and make sure it runs at peak efficiency.
Parameters:
One of the most important parameters that needs to be adjusted is the water temperature setting, as this directly affects how much energy is consumed by the machine during operation.
Additionally, other settings such as spin speed, wash cycle time and detergent type should also be set appropriately for each washing load.
It’s important to note that some models may require manual adjustments for certain parameters and settings while others will automatically adjust according to particular washing loads.
To ensure optimal performance from your Speed Queen washer, refer to its user manual or contact customer service for more information about specific adjustment procedures.
Performance:
Another variable that can affect performance of your Speed Queen washer is frequency of use; machines exposed to heavy usage tend to experience slower response times or increased energy consumption so regular maintenance checks are key in order maximizing efficiency and avoiding costly repairs down the line
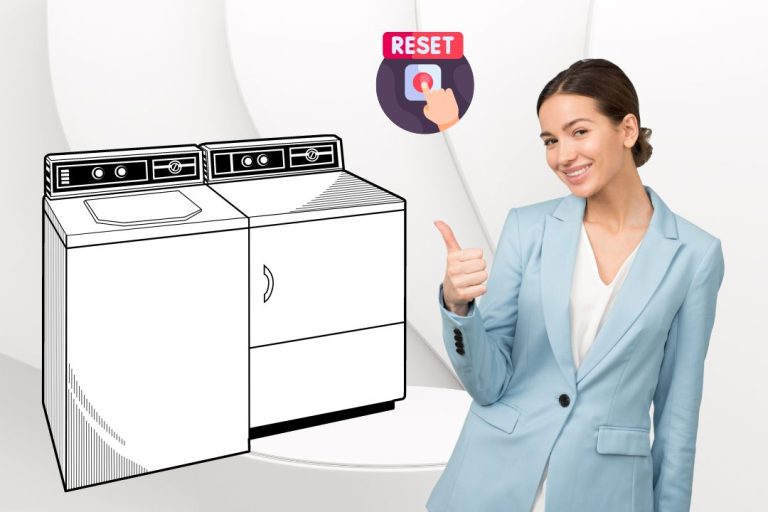
Exiting Speed Queen Diagnostic Mode:
Exiting Speed Queen Diagnostic Mode is an important step in keeping your Speed Queen laundry machine running smoothly and efficiently.
To exit the diagnostic mode, you first need to press the button on the front of the washer that says “exit” or “end”.
This will take you out of diagnostic mode and make all changes made during this session permanent.
If you are unsure how to do this, consult your user manual for more information or contact a professional service technician for assistance.
Check your settings:
Once exiting speed queen diagnostic mode is complete, make sure to check your settings again before proceeding with any use of the washer as some system functions may have reverted back to their default values due to resetting when leaving diagnostics.
It is also recommended that you run a test cycle after exiting diagnostic mode so that any potential issues can be addressed immediately and corrections can be made if necessary.
For those who wish to regularly enter into Speed Queen Diagnostic Mode, it might be beneficial to keep notes regarding every change made while using diagnostics each time it is accessed; this way users know exactly what they changed each time they enter into diagnostics in order ensure consistent results from use-to-use without having to reenter previous adjustments manually whenever needed.
Maintenance of Washer/Dryer in Diagnostic Mode:
Maintenance of Washer/Dryer in Diagnostic Mode is an important part of the overall care and upkeep of a Speed Queen washer or dryer.
The diagnostic mode allows experienced service technicians to troubleshoot any issues with the machine, identify their root cause, and repair them quickly and efficiently.
To access diagnostic mode on a Speed Queen appliance, open the control panel door and press either ‘Laundry’ or ‘Dryer’ depending on which unit you are working with.
Then use a pointed object to press down on the “Diagnostics” button located at the bottom right corner of the display screen.
Once this is done, you will be able to view detailed information about the performance status of your appliance’s internal systems including temperature readings from its sensors as well as data related to spinning speed, drain time, wash cycle selections, etc., allowing for comprehensive troubleshooting capabilities.
In addition to running diagnostics periodically (as recommended by manufacturers), it is also important that all mechanical parts such as belts or pulleys should be regularly inspected for wear-and-tear during maintenance visits so they can be replaced if necessary before any damage occurs due lack of proper maintenance.
By taking these simple steps towards preventive maintenance along with adhering to manufacturer guidelines when using diagnostic modes on Speed Queen appliances , owners can ensure that their machines remain in tip top condition throughout its lifetime providing years of worry free operation .
How to put speed queen washer in diagnostic mode?
In order to put a Speed Queen washer into diagnostic mode, you must first identify the model number of your machine.
This can be found in several locations on the appliance, including on the serial plate inside the unit or on a label located at the back of the machine.
Once you have identified your model number, it is important to familiarize yourself with its features and how they apply to entering diagnosis mode.
Simply Steps:
1. Unplug the washer from the wall outlet.
2. Press and hold the “Start/Pause” and “Delay Start” buttons simultaneously.
3. Plug the washer back into the wall outlet.
4. Release the “Start/Pause” and “Delay Start” buttons.
5. Press and hold the “Start/Pause” and “Delay Start” buttons again.
6. The washer will enter diagnostic mode and the “Start/Pause” and “Delay Start” lights will flash.
7. Press the “Delay Start” button to cycle through the diagnostic codes.
8. When the desired diagnostic code is displayed, press the “Start/Pause” button to enter the code.
9. The washer will now be in diagnostic mode.
Can you force a washer to drain?
Yes, you can force a washer to drain. This is done by activating the diagnostic mode on your Speed Queen washing machine.
Mode is activated:
When this mode is activated, the water will be completely flushed out of the appliance in order to ensure any blockages or other issues are detected and resolved.
To enter diagnostic mode on a Speed Queen washer, first press and hold both the Wash Temp and Spin Select buttons for 3 seconds until all 6 LED lights flash at once.
Then select either Softener or Extra Rinse plus Start/Pause depending on your model; both buttons must be pressed together for two seconds before releasing them simultaneously.
Start draining:
Finally, press Stop/Cancel to start draining the washer. The process typically takes up to 10 minutes but may take longer if there is an obstruction in the drain pump filter or hoses that need to be cleared away first.
Once diagnostic mode has finished running its cycle, it’s important to reset it back to normal operation so that no further problems occur with your washing machine’s performance afterwards.
To do this, simply press Stop/Cancel twice within 2 seconds of each other followed by pressing Power On button once after another 5 second interval have passed – this should bring your Speed Queen back online without any issue!
Conclusion:
The Speed Queen Diagnostic Mode is a great tool for anyone who needs to troubleshoot their Speed Queen washer or dryer.
It provides a comprehensive set of diagnostic tests that can help identify and resolve any issues that may be causing problems with the appliance.
The diagnostic mode can be used to check the operation of the washer or dryer, as well as to identify any potential problems that may be causing the appliance to malfunction.
With the help of the diagnostic mode, users can quickly and easily identify and resolve any issues that may be causing their Speed Queen appliance to malfunction.
FAQs
Q1. Can I access Speed Queen Diagnostic Mode without professional tools?
Yes, you can enter Diagnostic Mode without professional tools by following specific button combinations detailed in your model’s user manual. This process typically involves pressing and holding certain buttons on the control panel.
Q2. How do I interpret the error codes displayed in Diagnostic Mode?
Error codes provide specific insights into the nature of the issue with your appliance. Consult your Speed Queen user manual or the company’s website for a detailed explanation of each error code.
Q3. Is it safe to use Diagnostic Mode if I’m not a technician?
While safe, caution is advised. Ensure you understand the function of Diagnostic Mode and follow instructions carefully to avoid incorrect settings that could potentially harm your machine or void your warranty.
Q4. Can Diagnostic Mode fix problems automatically?
Diagnostic Mode does not fix problems automatically but provides valuable information to diagnose issues. Some settings adjustments can be made within this mode, but physical repairs or part replacements must be done manually.
Q5. How often should I run Diagnostic Mode for maintenance?
Regular maintenance doesn’t require frequent use of Diagnostic Mode. It’s best used for troubleshooting when you suspect an issue. For general upkeep, follow the recommended maintenance schedule provided by Speed Queen.
Q6. What should I do if I can’t exit Diagnostic Mode?
If you’re unable to exit Diagnostic Mode, try resetting the machine by unplugging it for a few minutes and then plugging it back in. If the issue persists, consult the user manual or contact Speed Queen customer support for assistance.


One Comment